 The LiveGoLive Team
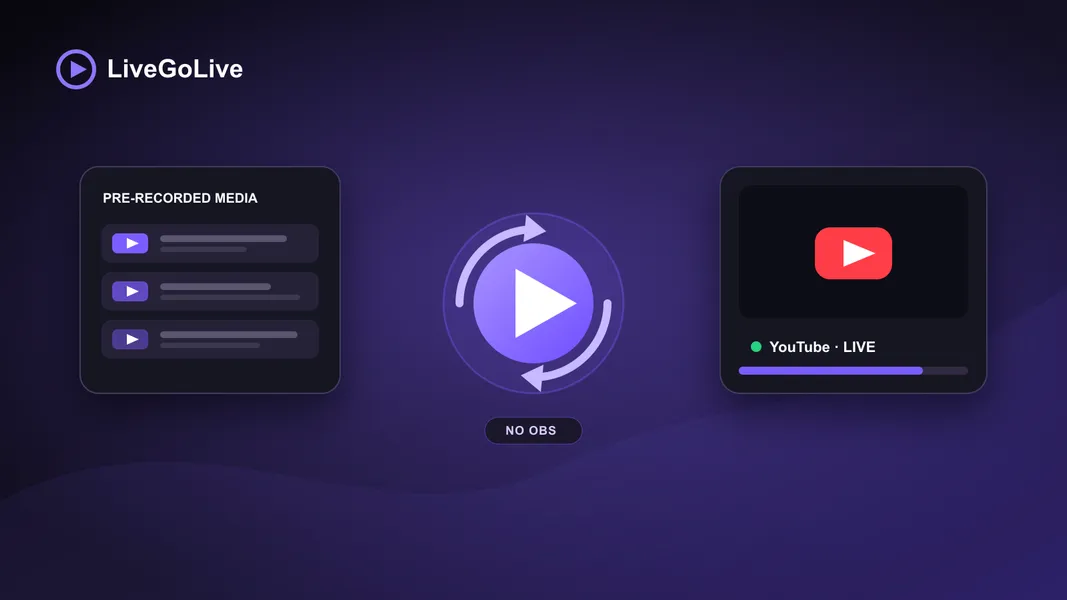
You can stream pre-recorded videos live on YouTube without OBS by using a cloud-based streaming service as the encoder. You connect your YouTube channel or stream key, upload the videos you own, arrange them into a playlist, and start the broadcast. The cloud service keeps sending the stream after your browser is closed and your computer is turned off.
That is the short answer. The important details are choosing the right connection method, preparing the media correctly, and understanding what YouTube does with a long-running broadcast.
What “without OBS” actually means
YouTube still needs an encoder to send a continuous audio-video feed to its ingest servers. OBS is one encoder, but it is not the only option.
With a local encoder, your computer, power, upload connection, and OBS process all have to remain healthy. With a cloud encoder, those responsibilities move to an online service designed to keep running without your device.
The basic flow becomes:
- You upload your pre-recorded media.
- The service prepares it for reliable live playback.
- The service sends the playlist to YouTube as a standard encoder stream.
- Monitoring and reconnect logic keep the broadcast running if the connection briefly drops.
YouTube documents encoder-based streaming as one of its standard ways to go live in its live streaming guide.
Before you start
Confirm these four things before creating the stream:
- Your channel can go live. YouTube requires an eligible, verified channel with no active live-streaming restriction.
- You own the content rights. A pre-recorded source does not bypass copyright, reused-content, or community-guideline requirements.
- Your media is ready. MP4 video with H.264 video and AAC audio is the safest general-purpose input. A good cloud service should inspect and optimize other formats before they go live.
- You know the broadcast goal. Decide whether this is a continuous channel, a scheduled program, or a playlist that repeats during specific hours.
The content still has to follow YouTube’s Community Guidelines and copyright rules, regardless of which encoder sends it.
Step 1: Choose how YouTube connects
There are two practical connection methods.
Connect with your Google account
An authorized connection can create and manage the YouTube broadcast for you. This is the more guided option because the service can coordinate broadcast setup, status, and archive rotation without asking you to copy sensitive values between screens.
LiveGoLive calls this Connect with YouTube and is introducing it in Beta. You authorize access through Google and can revoke that access from your Google account.
Paste a stream key
You can instead create the stream in YouTube Studio and copy its ingest details into the streaming service. This is the most direct connection and does not require giving the service access to your channel account.
Treat the stream key like a password. Do not place it in screenshots, support messages, public documents, or source code. If it is exposed, replace it in YouTube Studio.
YouTube’s Live Streaming API distinguishes the persistent stream carrying the audio-video feed from the broadcast that viewers see. That separation is useful for long-running channels because a stream configuration can be reused across broadcasts. See YouTube’s explanation of broadcasts and streams.
Step 2: Upload and prepare the videos
Upload the files to the cloud media library and arrange them in playback order. Before starting a public broadcast, check:
- The first and last frames make sense when the playlist loops.
- Audio levels are reasonably consistent between files.
- Every item has audio, or the service can generate a silent audio track when silence is intentional.
- Titles, thumbnails, descriptions, and audience settings are ready in YouTube.
- You have tested the playlist with an unlisted broadcast.
LiveGoLive probes each upload before processing it. A compatible file can skip unnecessary conversion; a file that is not safe for continuous streaming is optimized once at upload. This avoids repeatedly encoding the same media while it loops.
Step 3: Start with an unlisted test
Do not make the first run public immediately. Start an unlisted broadcast and watch it from a separate device.
Check the following:
- Playback begins with the intended first item.
- Audio and video remain synchronized.
- The transition back to the beginning of the playlist is clean.
- YouTube reports a healthy connection.
- Stopping and restarting the cloud stream behaves as expected.
An unlisted test catches media and channel-setting problems without sending a live notification to the whole audience.
Step 4: Go live and let the cloud keep running
After the test passes, start the public broadcast. At that point your browser is only a control surface. Closing it does not stop the cloud encoder, and your home upload connection is no longer part of the broadcast path.
For unattended streaming, the service should continuously compare the desired stream state with what is actually running and reconnect automatically after a transient network interruption. This is more important than decorative studio features when the goal is an always-on channel.
What happens to very long YouTube broadcasts?
YouTube’s archive behavior and the live feed are related but not identical. A live feed can continue while the viewer-facing broadcast is managed in chapters.
In LiveGoLive’s connected mode, the same persistent stream path can continue while the YouTube broadcast is rotated before the archive boundary. Viewers stay on the channel’s live experience, while completed chapters can remain available as archives. Manual stream-key mode keeps the encoder connection simple but does not provide API-managed archive rotation.
This difference is worth deciding before launch:
- Choose the connected path when guided broadcast management and archive rotation matter.
- Choose the manual stream-key path when you prefer to control YouTube Studio yourself and only need the cloud service to push the playlist.
Cloud streaming versus OBS or a VPS
OBS is a strong choice for an interactive production where a person is present, switching scenes, mixing cameras, or responding in real time. It is less convenient for a playlist that should run unattended day and night.
A self-managed VPS removes your home computer from the path, but you still own server updates, storage, media preparation, process supervision, logs, alerts, and recovery. It can be a good engineering project; it is not the simplest creator workflow.
A purpose-built cloud service is the better fit when the requirement is:
- Upload once and keep streaming.
- Schedule or repeat a playlist.
- Avoid maintaining OBS and a server.
- Recover automatically from connection interruptions.
- Add more destinations without duplicating the local upload workload.
Frequently asked questions
Is it allowed to stream a pre-recorded video as live content?
YouTube accepts encoder feeds, and that feed can be produced from media files. Your content and presentation must still comply with YouTube’s copyright, community, and monetization policies. Do not present third-party material as your own or imply that a recorded event is happening in real time when that would mislead viewers.
Does my computer need to stay on?
No. After the files are uploaded and the cloud stream starts, the encoder runs in the cloud. Your computer can be turned off.
Do I have to share my YouTube password?
No. A manual connection uses a stream key, while an authorized connection uses Google’s OAuth consent flow. Neither method requires sharing your Google password with LiveGoLive.
Can the same playlist stream to other platforms?
Yes. A cloud encoder can send the same program to YouTube, Twitch, Kick, and compatible custom destinations. Each platform’s content and account rules still apply.
The simplest next step
Prepare one short playlist, enable live streaming on the YouTube channel, and test the complete flow with an unlisted broadcast. Once the loop and audio are clean, the same setup can become a scheduled or continuous channel.
See how LiveGoLive works and join the waitlist from the site navigation when you are ready to run the encoder in the cloud instead of leaving OBS and a computer online.